Wednesday, September 16, 2015

BBQ Chicken Sandwich - Alternative Recipes

I've already shared a recipe before to make BBQ Chicken Sandwiches in the Crock Pot, where you make your BBQ sauce from scratch. (recipe here)
But if you're wanting something a little simpler, here are two alternative recipes two of my friends shared with me...ironically both friends are named Christina!

BBQ Chicken Alternative One:
6 chicken breasts, frozen or thawed
1 (12 ounce) bottle of barbecue sauce
1/2 cup Italian salad dressing
1/4 cup brown sugar
2 TBS Worcestershire sauce

Place the chicken in the crock pot. In a bowl, mix the barbecue sauce, Italian salad dressing, brown sugar, and Worcestershire sauce. Pour over the chicken.
Cook on high for 3-4 hours or on low for 6-8 hours.
Remove the chicken and shred, then stir back into the sauce. You can shred the chicken an hour before eating and let it simmer in the sauce for the final hour, if you wish.

BBQ Chicken Alternative Two:
4-6 chicken breasts, frozen or thawed
1 (12 ounce) bottle of barbecue sauce
1/4 cup of vinegar
1/4 cup of brown sugar
1/2-1 tsp of garlic powder

Place the chicken in the crock pot. In a bowl, mix all the remaining ingredients together, then pour over the chicken. 
Cook on high for 4 hours or on low for 8 hours. 
Remove chicken and shred, then return to the sauce to mix together (or just pour the sauce over the chicken).
Serve on toasted hamburger buns! 

Chicken Stuffed with Spinach & Sun Dried Tomatoes

Yesterday I had taken two chicken breasts out of the freezer to thaw with the intention of making some sort of Italian pasta or something for dinner. But when it came around to dinner time, I just didn't feel like making that. 
Instead, I threw this together, and I'm oh so glad I did.
It's chicken stuffed with spinach, sun dried tomatoes, and mozzarella cheese, then breaded and baked to yummy perfection.
If you don't have sun dried tomatoes, you could try it with fresh tomatoes, or some roasted red peppers

Chicken Stuffed with Spinach and Sun Dried Tomatoes

2-4 chicken breasts, thawed
Handful of fresh spinach, chopped.
One sun dried tomato per chicken breast
1-2 sticks/chunks per chicken breast of "Pizza Cheese" (or shredded mozzarella if you're in the U.S.)
Salt & pepper
1 egg, beaten
1/2 cup of Panko bread crumbs (or regular breadcrumbs, or crushed Monaco crackers)
2 TBS of olive oil
Toothpicks

Preheat oven to 170 degrees Celsius (350 F)
1. Chop your spinach, sun dried tomatoes, and get your cheese ready. Here were my filling ingredients assembled:
This was for 2 pieces of chicken - not quite all the spinach fit
2. Season both sides of the chicken with some salt and pepper. Cut a slit into the sides of the chicken, but don't cut all the way through - creates a pocket to stuff your filling into.
3. Stuff some cheese, chopped spinach and sun dried tomato into each chicken breast. Secure the slit closed with toothpicks.
4. Dip each stuffed chicken breast into the egg, then coat with the Panko bread crumbs. 
5. Heat the oil over medium heat in a pan. Brown the chicken on both sides for about 2 minutes, or just enough to brown and crisp up the Panko. (Skip this step if you're not using Panko).
6. Place the chicken on a foil-lined baking dish that's been sprayed with cooking spray. Bake for 25-30 minutes, or until the chicken is cooked through.
7. Carefully remove the toothpicks before serving!

Lots of Recipe Links

Often times recipes take some adjustments and substitutions to work in India, but sometimes, recipes work fine as is! I figured I'd just create a page of links to recipes that either I love or that friends have sent me that they frequently make, that don't necessarily require a whole post written up with adjustments. So here are a bunch of "linkable" recipes!!
This post will be a living work in progress as people send me other recipe links (or as I discover more), so check back occasionally!

First, some sweet stuff...because I'm definitely a sweets addict:

Granola Bars - I have a pan of these on hand almost all the time. I personally add flax seeds, chia seeds, chopped dried cranberries and chocolate chips, but you could add any combination of mix ins. I make a half recipe, and I like using these Oats Plus instead of just plain oats, because it adds extra texture.

Healthy Breakfast Cookies - y'all, I'm completely obsessed with these cookies. They are so, so, so delicious. And easy. And Healthy(ish?). I probably make them once a week for breakfast, or afternoon snacks :) YOU NEED TO MAKE THESE!!!

Chocolate Chip Cookies - ok, everyone already has their favorite chocolate chip cookie recipe, but I was recently converted to this one. It is the best. The BEST. So chewy, so thick, such perfection. And totally India proof.

Sugar Cookies - my friend Christina makes these, and they're totally yummy!

Biscuits - if you want an alternative to my simple drop biscuits recipe, here's one that Christina uses - she says to make the biscuits big.

Pancakes - I already have 2 pancake recipes on the blog, but here's another alternative that a friend uses.

Syrup - if you need an alternative to the {expensive} American Garden pancake syrup, you can try this butter based syrup. It's very rich, and this makes a lot, so try making half a recipe.

Slow Cooker French Toast Casserole

Homemade Monkey Bread from scratch - this is sweet enough that you don't need the glaze, in my opinion.

French Toast in a Mug


And, some savory entrees:
Italian Chicken Packets - from Lauren

Ginger Sesame Chicken Chopped Salad - from Lauren

Baked Chicken Nuggets - Lauren says you can use blended oatmeal if you don't have breadcrumbs.

Macaroni & Cheese with Dahi - Tessy says everyone should know about this easy, yummy recipe! Use Dahi in place of the Greek yogurt.

Pioneer Woman's Perfect Potato Soup - it really is seriously perfect. The best potato soup I've ever tasted.

Tuesday, September 15, 2015

Baked Oatmeal Bars

Once a week we have friends over for breakfast, so I'm always on the lookout for delicious, easy breakfast recipes for large groups. These Baked Oatmeal Bars have become my latest go to recipe, esp if I've forgotten to plan something ahead of time, because we always have oatmeal on hand.

I apologize that this is a TERRIBLE picture. Taking the pic was kind of an afterthought in the middle of eating that morning.

The very first time I made this, it didn't really get set, so it was more kind of a semi-set, really thick oatmeal (which also still tasted good). After several tries and tweaks, I finally got it to come out in cut pieces this last time I made it. Three things contributed to this:
1. I used more oatmeal than the recipe calls for (I think because you can only typically find quick oats and not whole oats in India, they don't absorb as much liquid. If you have whole oats you may not have to do this).
2. I used slightly less milk.
3. I cooked it on the stovetop until it was REALLY thick before baking, and baked it for longer in the oven than the recipe called for.
My recipe below reflects all of my adjustments.

Even if you aren't cooking for a crowd, this would still be a great recipe to make and then refrigerate or even maybe freeze pieces of it for quick breakfast throughout the week. You could potentially even bake the mixture in individual muffin cups (ooo, now there's an idea!!).
I also omit the raisins that the original recipe calls for, because I personally detest them. But feel free to stir raisins into the oatmeal mixture after it's thickened. Or, my friend Laura made this once with chopped dried cranberries and chopped walnuts on top instead of chocolate chips. Let your imagination run wild! I'm just a chocaholic. 

Baked Oatmeal Bars

3 1/2 cups of oats
5 cups of milk
1/2 cup peanut butter
3 eggs, beaten
1 1/2 cups brown sugar
1 cup of chocolate chips
(1 cup of raisins, if you like that sort of thing)

Combine the oats, milk, peanut butter, brown sugar, and beaten eggs in a LARGE pot. Mix well and cook the mixture over medium/medium low heat, stirring frequently. My most successful times making this are when I've allowed it to cook on the stove for at least 30 minutes. 
Once the mixture is extremely thick, spread into a greased 9x13 pan. Sprinkle chocolate chips over the top.
Bake at 170 degrees Celsius (350 F) for 40-50 minutes, until set. Allow to cool for just a few minutes before serving.

Chicken Pot Pie - Two Ways

Who doesn't love a good chicken pot pie? Talk about comfort food! And sometimes in India, you just need a dose of American comfort food (am I right?!).
Today I'm sharing not one, but two ways you can make chicken pot pie. (Yee haw!)

First I'll share my mom's classic chicken pot pie recipe I've always made, except with a twist - biscuits instead of pie crust. Then I'll share my friend Christina's recipe with the traditional pie crust.

In America, I made chicken pot pie very frequently because 1) it's delicious and 2) it's so darn easy when you can buy remade refrigerated pie crusts and bags of frozen mixed vegetables with carrots, peas, corn and green beans! Simple simple simple.

But although my mom's recipe for the chicken pot pie filling translates easily to India cooking, I was just too lazy to make a from scratch pie crust (three kids, y'all), so I topped it with biscuits instead. Still so delicious!
India also made this even easier lately when my grocery store started carrying these bags of frozen vegetables:
It's a mix of peas, carrots, green beans, and cauliflower. But before using, I sifted through and picked out every piece of cauliflower, because I'm pretty sure there's a law written somewhere that it's illegal to put cauliflower in chicken pot pie. Then I added about 1/3 of frozen corn to the mix. If you can't find these bags of frozen veggies though, you can definitely just use all fresh!

So here's my mama's recipe, topped with biscuits!

Chicken Pot Pie
Thanks, Mom!

2-3 chicken breasts, cooked and cut into cubes (click here for how I get my chicken)
2 cups of frozen mixed vegetables (or fresh, chopped into bite sized pieces - I like peas, carrots, green  beans, and corn, but you can do any other combo)
5 TBS of butter
1/3 cup of flour
1/3 cup of onion, chopped
1 3/4 cups of chicken broth (or one can in the US)
2/3 cup milk
Salt and pepper to taste
A half recipe of biscuit dough (or you can use pie crust)

Prepare your biscuit dough and set aside in the fridge.
1. In a sauce pan or very large sauté pan, melt the butter with the onion over medium heat. Allow the onions to cook a few minutes until they're soft (because crunchy onions in chicken pot pie = no ma'am). 
2. Sprinkle the flour into the melted butter and add a semi-generous amount of salt and pepper. Stir and allow to cook for a couple of minutes to cook off the flour flavor.
3. Remove the pan from the heat, and pour the chicken broth and milk into the pan and stir to combine. 
4. Return the pan to the flame and heat to a boil, then allow to boil 1-2 minutes till the mixture thickens.
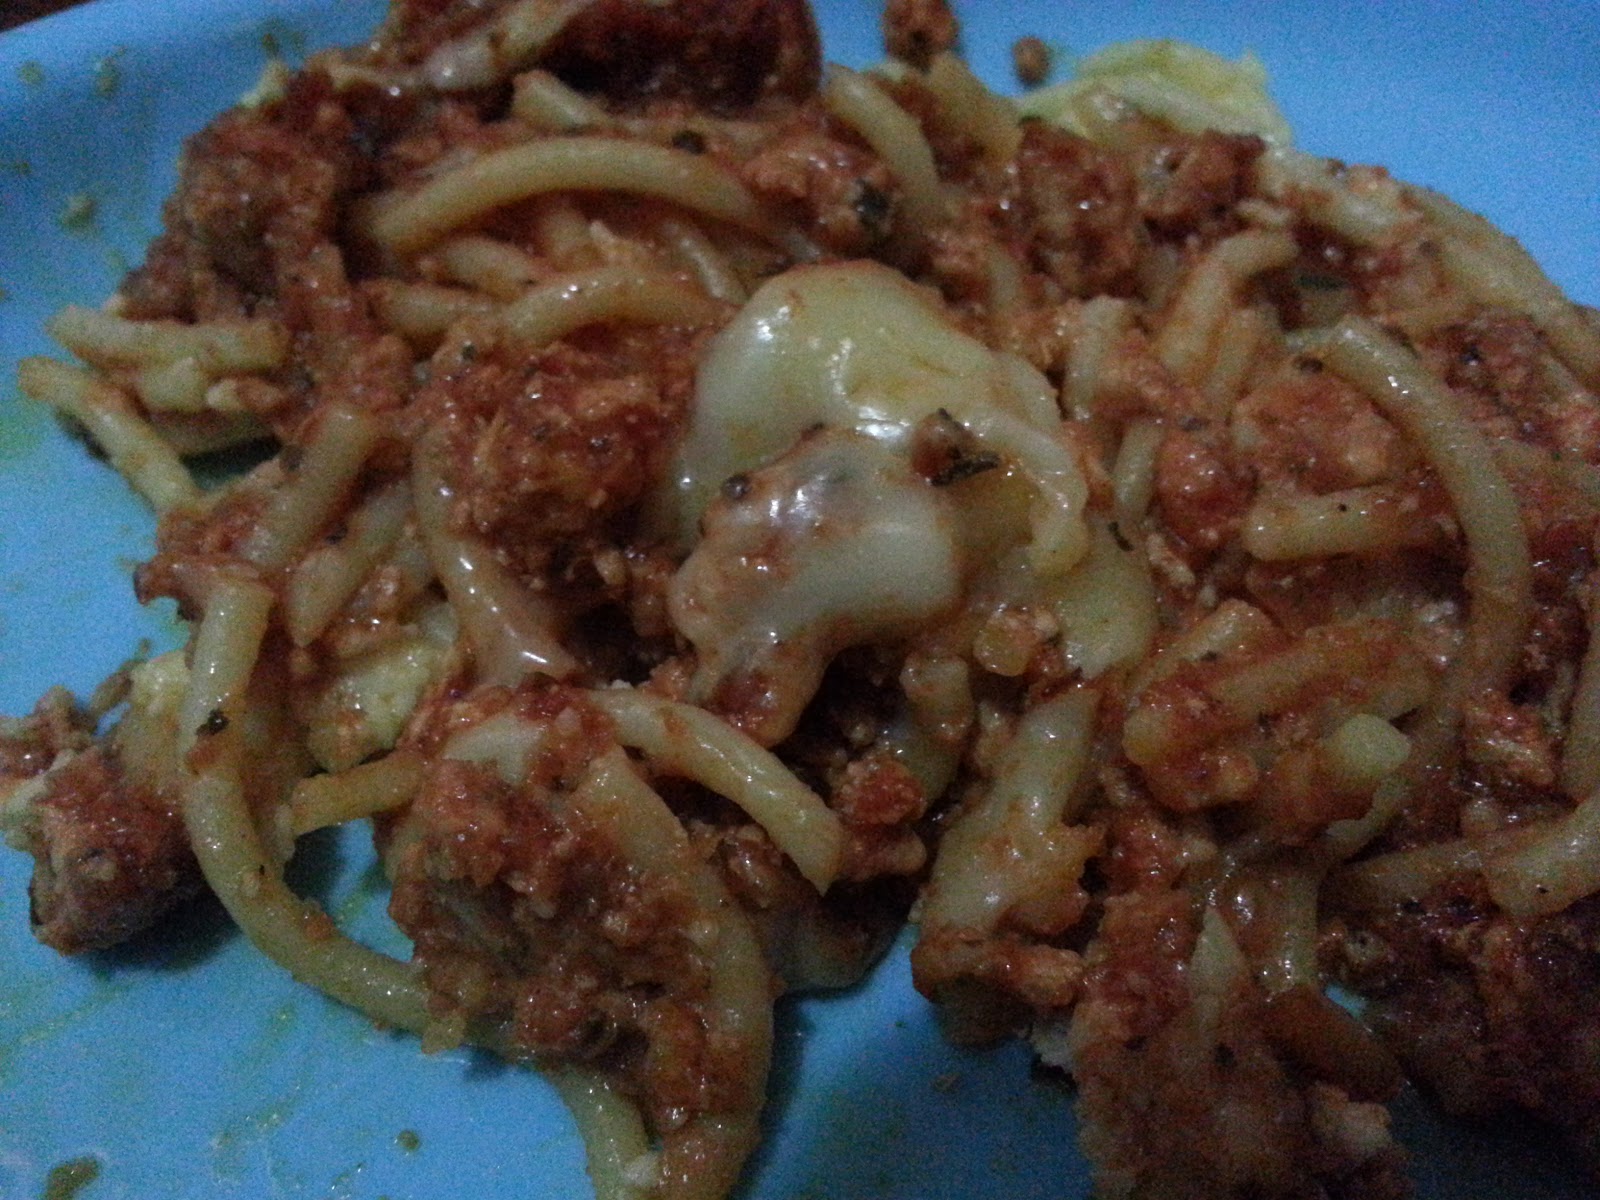
5. Stir in the cooked chicken and vegetables.
The filling mixture
6. Spray a 9x9 (or equivalent sized) baking dish with cooking spray or butter, then pour the pot pie filling into the pan.
7. Drop large spoonfuls of the biscuit dough over the top of the filling, leaving little bits of space for it to expand as it cooks. (Or, top with a pie crust and cut slits in the center) If you want the biscuits to get really browned on top, you can brush them with an egg white (I did not do that in my recipe pictured).
Prior to baking
8. Bake at 215 degrees Celsius for 25-30 minutes or until the filling is bubbly and the biscuits are set (or the pie crust is browned). Enjoy!


And now, here's your Chicken Pot Pie Alternative, courtesy of Christina!

Chicken Pot Pie, Take Two

Christina said that instead of a whole chicken, she uses a 1 lb package of chicken breasts, and then the recipe yields a 9.5 inch deep pie pan or a 9x9 square pan - you'd need to double it for a 9x13. So you would just need a single pie crust to top it with unless you want to line the bottom with a pie crust also.

Monday, September 14, 2015

How to Cook Chicken to Use in Recipes

A lot of chicken recipes call for the chicken to be already cooked and shredded/cubed. What are the best ways to cook the chicken prior to using in these recipes?
I'm sharing my two favorite ways today!

Method One: In the Crock Pot 
(aka my most favorite method ever)
Obviously for this method, you need a crock pot. If you're living and cooking in India, I would totally recommend spending the money to invest in a Crock Pot - total, total life saver. And since Amazon.in has revolutionized what's available in India, you can actually find several different models. Just do a quick search on Amazon.in for crock pots and there are lots to choose from.

Instructions:
Put your chicken in the crock pot (I usually put mine in straight from frozen). Pour in enough (filtered) water to mostly cover the chicken breasts. Cook on low for 7-8 hours, or on high for 4-6 hours (if the chicken is thawed, you could prob reduce the cooking time by an hour or two).
You can cook the chicken in just straight up water, but you also have a great opportunity to add flavor by cooking it all day with seasoning. I always at the very least throw in two to three chicken cubes to make the water chicken broth.
No need to dissolve the chicken cubes in the water before hand - just plop them right in and they'll dissolve as it cooks all day.
You can also add in any kind of seasoning that will pair well with your recipe - I most frequently add fajita seasoning to use in Mexican dishes, but you could also add a packet of taco seasoning, or you could add some Italian seasoning, or lemon pepper, or some rosemary/thyme/oregano...go crazy with it! I typically cook the chicken in the seasoning and then also add just a little bit more to the chicken after I've shredded it.
After the chicken is done cooking, remove it from the Crock Pot and shred. If I only have a couple of chicken breasts, I'll just shred it with two forks, but if I'm doing a lot of chicken, I love to shred it in my KitchenAid mixer.
Does the job in like less than a minute! I usually add a couple spoonfuls of the water from the Crock Pot in with the chicken when I shred it in the mixer. You can also use a hand mixer for the same results.
Like I said, this is my favorite way to cook chicken, because you throw it in the Crock Pot, forget about it for hours, and come back to very moist, well seasoned chicken ready for your recipe!

Method Two: "Boiling"
I put the word boiling in quotation marks, because really it's better to not fully boil chicken, because it makes it turn out tough (I know this because of Google...mostly everything I learned about cooking came from my mom, the Food Network, and Google. When you don't know something, just Google it). You want to gently "poach" it instead.
Instructions:
Bring a pot of water to boil (add in some chicken cubes if you want extra flavor). Then gently drop your THAWED (not frozen) chicken breasts into the water. Turn the heat down to where it's more of a simmer vs. a rolling boil (a few bubbles should pop up to the surface here and there, but not a rolling boil like you use with pasta). Cook for about 12-15 minutes or until the chicken is cooked through and not pink when you cut into it. You may need more time if you're doing more than just 2 or 3 chicken breasts. Or you can cut them into smaller pieces to cook more quickly.
Remove the chicken and either shred it or cut it into cubes.

The other bonus of these two cooking methods is that if your recipe calls for chicken broth, you can use the liquid you cooked the chicken in instead of boiling a chicken cube in water (or cracking open a can of chicken broth in the U.S.). 

That's it friends! Perfectly cooked chicken ready for your favorite recipes.

Thursday, September 10, 2015

Million Dollar Spaghetti

This is a recipe that I saw floating around on Pinterest for awhile, but after reading it, I abandoned it as an option for India since it called for cream cheese and cottage cheese.
But lucky for us, my friend Christina figured out how to India-fy this one and it is so delicious!
It's rich and oh so cheesy - a crowd pleaser for sure!
So here's Christina with her Million Dollar Spaghetti method!

Million Dollar Spaghetti
Serves 6-8 people

  • 1 lb of Chicken Keema
  • 1 jar of spaghetti sauce - or I make my own (instructions below)
  • 8 oz of cream cheese or a similar substitute
  • ¼ cup dahi
  • 1 cup (200 grams) of paneer; you can either crumble it by hand or shred it and it will cook up great!
  • ½ cup butter (1 stick) - this is just approximate, no need to measure it out, you’ll just be adding slices of butter as you go
  • 1 pkg spaghetti 16 oz - this equals about 500 g
  • Grated "Pizza Cheese", or gouda cheese, or a combination of the two.


Instructions
  1. Preheat your oven to 170 degrees Celsius. Boil your spaghetti noodles until al dente (firm). Drain and set aside until ready to assemble. Be careful not to let the noodles clump together when cooking. You can really taste this in the dish once it’s all done. If they do clump together when cooking, go ahead and separate them out as best you can by hand or with a fork.
  2. Combine the cream cheese, dahi, and crumbled paneer until well blended. If any of your ingredients here are too hard to blend, you can put these in the microwave for a little bit of time. It will soften them and make everything easier to mix together.
  3. Brown your chicken keema and combine with spaghetti sauce.
  4. Put a few slices of butter into a 9x13 pan then pour half of your spaghetti noodles on top.
  5. Take your cream cheese mixture and pour on top of the noodles. Spread well over noodles. If the consistency is too tough to spread, you can add a little more dahi to thin the mixture out a bit.
  6. Pour the rest of the noodles on top of the cream cheese mixture. Put a few more slices of butter on top of the noodles.
  7. Pour your spaghetti and meat sauce on top of your noodles. I like to make sure to cover all the noodles with sauce. If you don’t, then the ones that don’t get covered with get really crispy in the oven.
  8. Now it is ready to put into the oven for 30 minutes. After 30 minutes, pour the desired amount of grated cheese on top and return to the oven for 15 minutes to allow cheese to melt.

Instructions for Homemade Spaghetti Sauce:
In a skillet on medium heat, combine 2-3 boxes of tomato puree, 1-2 teaspoons sugar (sugar takes the bite off the tomato sauce; start with one tsp and add more if necessary), a fair amount of garlic powder, onion powder, basil and oregano. Also add water to dilute the thickness if necessary. Different brands of tomato puree in India have different levels of thickness. You want your sauce not as thick as marinara but not too thin either. Let this simmer on the heat for about five minutes or so. The longer you cook it, the more water will evaporate out, so if your sauce starts out too thin, cook it longer. If you like the consistency as it, don’t leave it cooking for too long. 

Cheese mixture

Meat/sauce mixture
Yumminess

Wednesday, September 9, 2015

Basic Hummus


I'll admit it: I'm a hummus newbie. I had only tried it one time in America before coming to India. But after we moved here, in our original flat there was a little hole in the wall Lebanese place nearby that had really great hummus, and I was converted. It also helps that hummus is one of the few ways I can get myself to eat fresh vegetables in India. 

I didn't try my hand at making homemade hummus until a couple of weeks ago, and now I don't know why I waited so long. It's actually really simple, and, like I said, is the vehicle to vegetable eating (and also a great snack options...snacks are the hardest in India!)

I take no credit for this recipe - it is courtesy of my friend Stephanie, although I adjusted it slightly to my tastes. I think hummus is very much one of those personal taste foods, so take this recipe as a guideline and adjust the amounts to what you like. I personally LOVE garlic, so I add lots of garlic (reflected below), and I also like really really smooth hummus, so I add a decent amount of olive oil to it. I actually don't measure anything other than the chick peas; I just add approximate amounts and adjust as I taste it. 
The bonus of this recipe is that no tahini is needed, and it still tastes awesome! Like I said though, I'm a hummus newbie, so I may just not be well versed in hummus enough to know the difference without the tahini. 

P.S. I think hummus is kind of a weird word, and it felt weird to say it in my head so many times as I was typing this out...

Basic Hummus

2 cups of cooked chicken peas/garbanzo beans
1/4 cup of dahi (Greek Yogurt)
5-6 cloves of garlic, minced
1-2+ TBS olive oil
1 TBS water
2 TBS lemon juice (I use the bottled kind, not fresh, bc I'm lazy)
1/2-1 tsp salt
1 tsp cumin
Black pepper to taste

Add all the ingredients to a blender/food processor. Pulse a couple of times to get things mixed together, then blend on low/medium speed for one minute. Check the hummus flavor and texture and then adjust to your tastes. Add more olive oil if you want it smoother, add extra seasoning, more garlic or more lemon juice if it tastes bland, etc. 

** To cook the chick peas, I soak them overnight and then cook them in the pressure cooker until soft. Obviously you can use canned chick peas in place of fresh if you have them.